

How To Install Ubuntu Vm On Windows 10
1. Overview
In this tutorial, we'll walk you through one of the easiest ways to endeavor out Ubuntu Desktop on a virtual machine. VirtualBox is a full general purpose virtualiser that is available across Linux, Mac Bone and Windows. It'south a bully fashion to experience Ubuntu regardless of your electric current operating arrangement.
We will cover the fastest manner to go started with VirtualBox, followed past some more avant-garde configuration options.
Notation: This tutorial will also work for other distributions, so endeavour information technology out with some of the Ubuntu flavours equally well!
What yous'll learn
- How to install and configure VirtualBox
- How to import an Ubuntu prototype
- How to run a virtual case of Ubuntu Desktop
- Further configuration options
What you'll demand
- A PC with net access!
Download an Ubuntu Image
Elapsing: 3:00
Y'all can download an Ubuntu image here. Brand sure to salve information technology to a memorable location on your PC! For this tutorial, we will use the Ubuntu 20.04 LTS release.

Download and install VirtualBox
Elapsing: v:00
On Mac Bone or Windows y'all can download VirtualBox from the downloads page here.
This page also includes instructions to download VirtualBox for Linux. However, on Ubuntu, y'all tin can find VirtualBox by simply searching for it in the Ubuntu Software app.

In one case you lot accept completed the installation, go ahead and run VirtualBox.

2. Create a new virtual machine
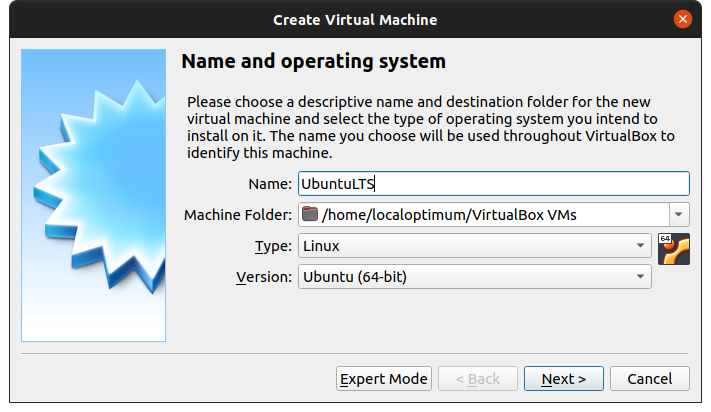
Click New to create a new virtual machine. Fill in the appropriate details:
- Proper noun: If you include the word Ubuntu in your name the Type and Version will auto-update.
- Machine Folder: This is where your virtual machines will be stored and then you can resume working on them whenever you lot similar.
- Type: Linux
- Version: Ubuntu (64-bit)
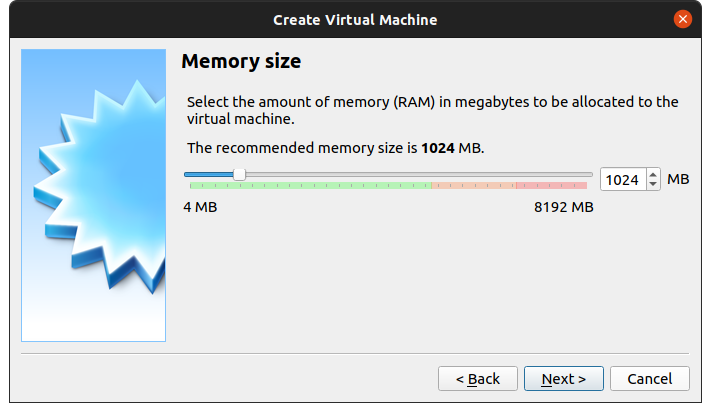
On the adjacent screen, yous will exist able to select the corporeality of RAM from your main PC that the virtual machine will admission. Be sure to remain inside the green bar to ensure you can continue to work exterior of the VM whilst it's running!
Notation: If you select Good Manner, y'all will be given the pick to set up all of these parameters in one go. Useful for future setups!
It's fine to employ the default settings for now.
Afterward that, you tin select how much of your hard disk drive your VM volition use.

The type of hard disk drive depends on whether you use VirtualBox with other VM software. For now, we can leave this as a VDI.

And so you tin can cull whether the hard disk is dynamically allocated (up to the limit we will set on the next screen), filling upwardly every bit the VM requires information technology. Otherwise, we tin can tell it to allocate the total corporeality of retentivity correct from the start. This will amend performance just may accept up unnecessary space. Nosotros'll go out it as dynamically allocated for this tutorial.

Finally you lot tin can set up the maximum amount of memory your VM can access.
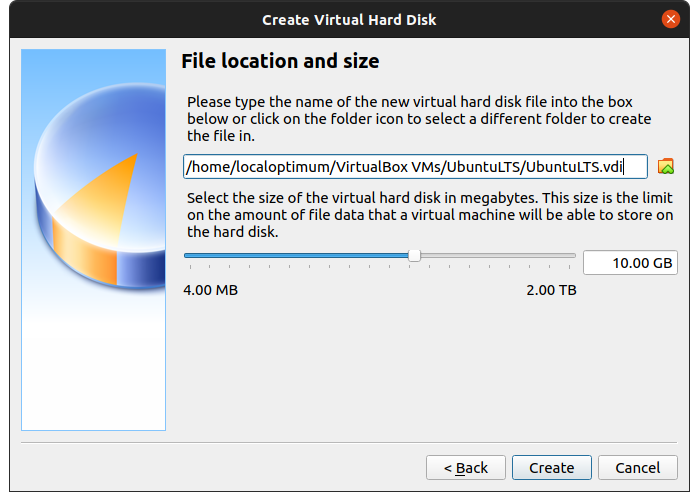
After this click Create to initialize the machine!
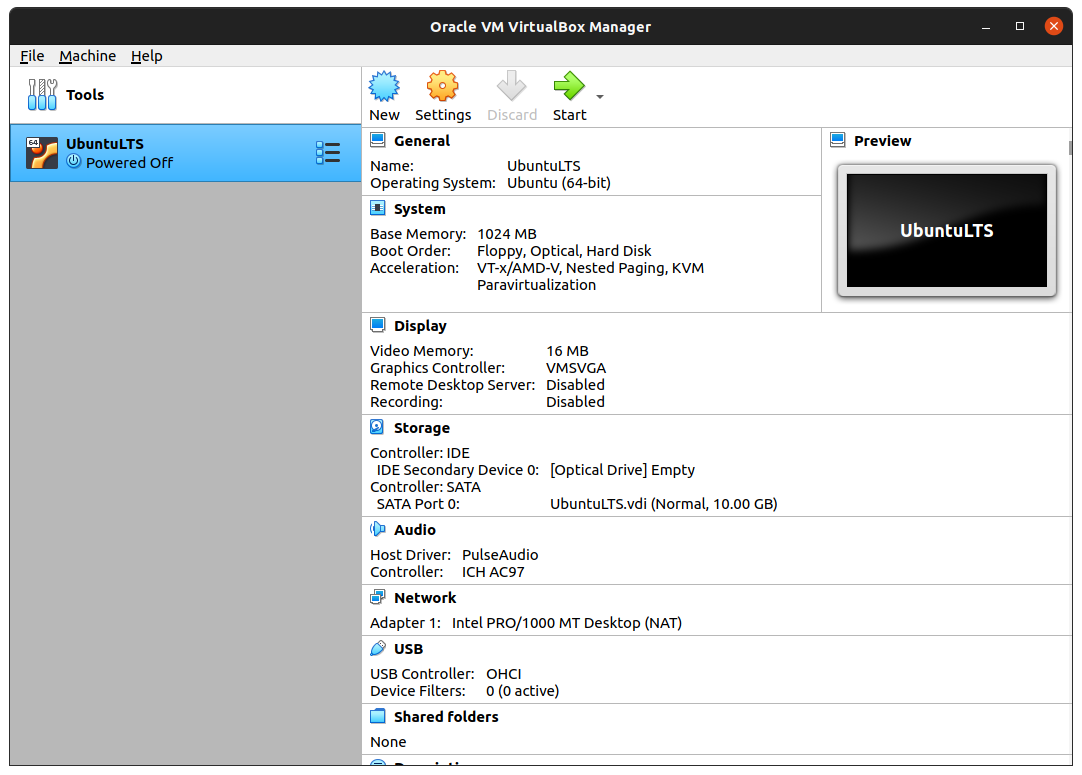
3. Install your image
Click Start to launch the virtual car. You will be prompted to select the get-go-up deejay. Apply the file icon to open the Optical disc selector and click Add to find your .iso file


Choose the disc image yous want to employ, then click Start on the get-go-up disc window.
Annotation: If y'all close this window before selecting an prototype you lot tin yet do so from the Devices menu at the top of the VM window. Select Devices > Optical Drives > Choose/Create a disc image…
Ubuntu desktop should now boot and display the installation menu.

Afterward this indicate yous can follow the normal installation flow for Ubuntu Desktop.
But at that place'south one more thing to talk about before we move on!
4. Changing the window resolution
Y'all'll notice that by default VirtualBox only displays at 800x600 resolution. Simply if you right click the Window in monitor icon at the bottom of the screen and select Virtual Screen 1, there are many more than options bachelor, but greyed out.

To resolve this we need to change some settings. Close the window and select Power off the machine.

Render to the managing director window and select Settings.

And then navigate to the Display tab.

Alter the Graphics Controller setting to VBoxSVGA and click OK (ignore the warning).

At present restart your virtual machine.
Once Ubuntu has started, y'all should at present exist able to select all of the bachelor resolutions from the virtual monitor menu, or simply resize the window to arrange the display.

That'south the cease of the primary tutorial. Congratulations, you now accept Ubuntu running on a virtual machine!
What follows are some more advanced options if you'd similar to explore VirtualBox further.
5. Installing Guest Additions
Guest Additions is an extra piece of software that unlocks some more than advanced features of VirtualBox. This includes amend integration between your virtual machine and the host motorcar, as well every bit improved video support that enables the display resolution options when using VMSVGA.
To install Invitee Additions, yous demand to complete your installation of Ubuntu in your virtual machine and kicking to the desktop.
From there, select Devices > Insert Guest Additions CD.
This will prompt you lot to download the Guest Additions deejay image file.

Click Download.

So click Insert.

The disc will announced inside your virtual desktop and you will be prompted to run the software.

Enter your password to install it.
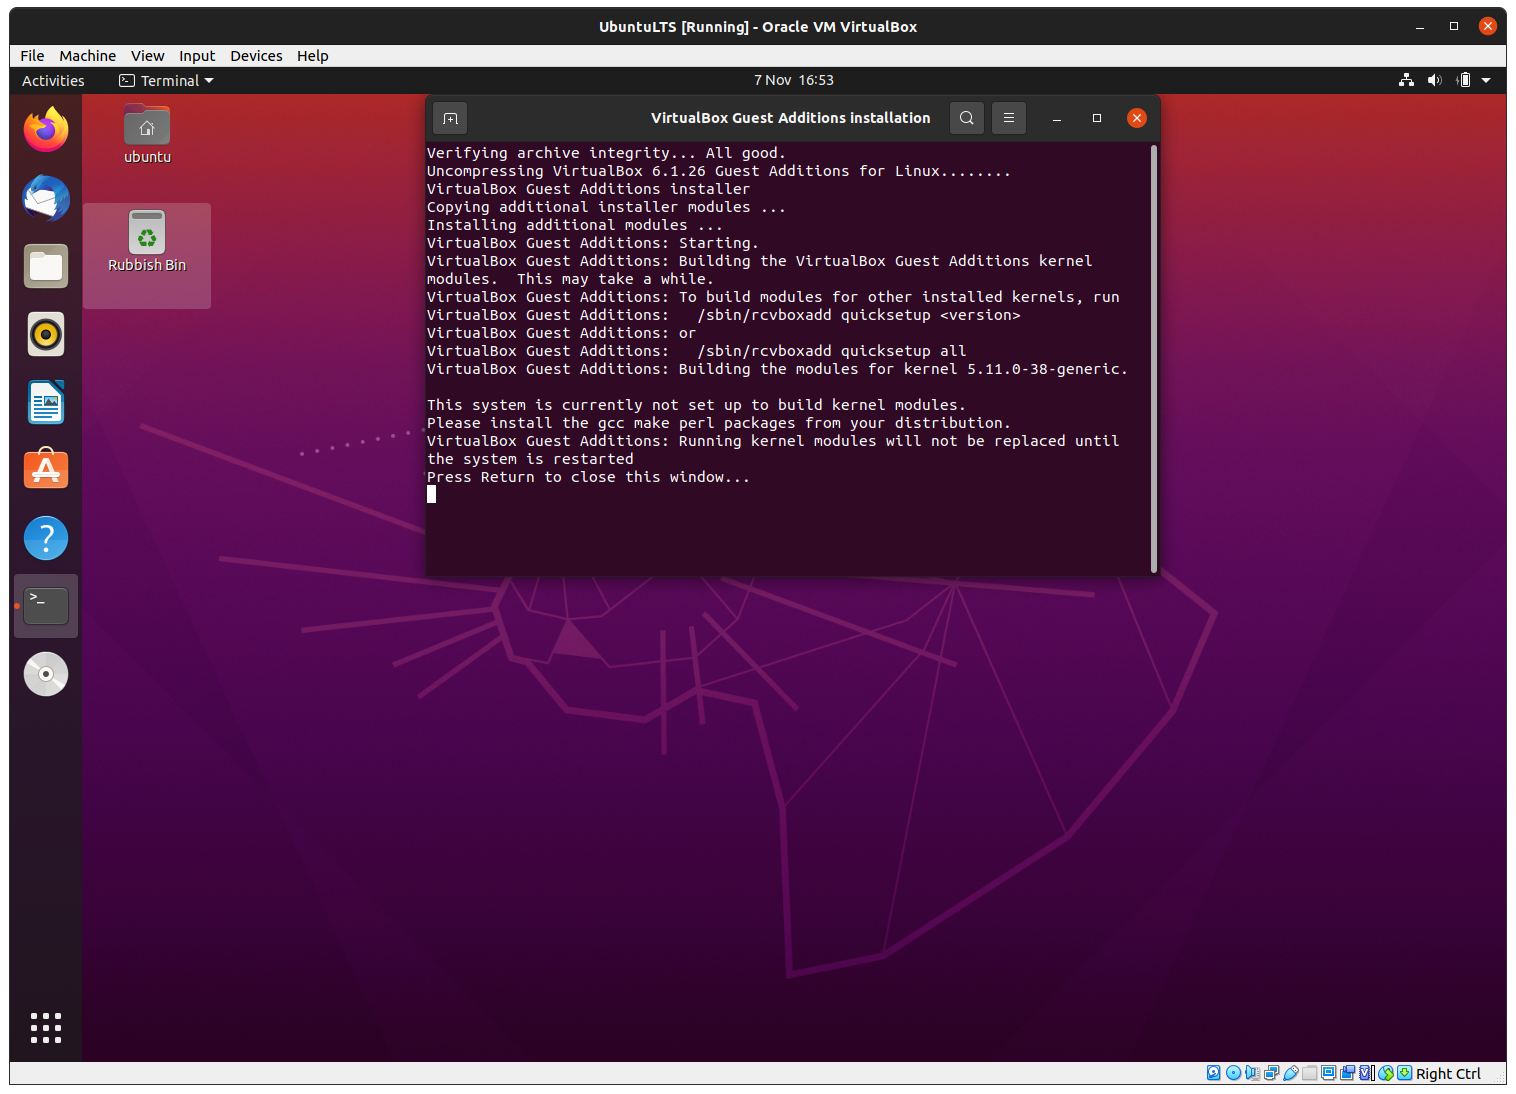
Once this is consummate, you volition need to restart your virtual auto for the new features to take effect.
Shut the car, but before y'all start it upwardly once more, return to the Settings menu and change the Graphics Controller back to VMSVGA and Enable 3D Acceleration. This will amend the performance of your virtual machine by taking reward of your PC's 3D hardware and allow you to resize your desktop resolution!

Another feature this unlocks is the shared clipboard, which you lot tin can activate in Devices > Shared Clipboard. This will allow you to copy and paste betwixt your virtual and host machines, useful when you lot desire to copy outputs from one device to the other.
6. Explore Virtual Box
Equally you tin probably tell, there are tonnes of further configuration options available in VirtualBox and we've only scratched the surface.
VirtualBox allows yous to create and configure multiple virtual machines, and so don't be afraid to create new instances of Ubuntu to endeavour out different system and storage configurations to fine tune your performance.
Why not try following the tutorial to a higher place with i of the Ubuntu flavours!

7. Tell us your thoughts!
Cheers for post-obit this tutorial, we'd honey to hear how you got on.
Give united states of america feedback in the Ubuntu Soapbox if yous have any issues.
To help us ameliorate our tutorials, nosotros'd honey to hear more about you:
How will you use this tutorial?
What is your current level of feel?
What operating system are you following this tutorial on?
Source: https://ubuntu.com/tutorials/how-to-run-ubuntu-desktop-on-a-virtual-machine-using-virtualbox
Posted by: croslandrappers.blogspot.com
0 Response to "How To Install Ubuntu Vm On Windows 10"
Post a Comment